Unlock the Sweet Secret: How to Make White Chocolate from Scratch
There’s an undeniable magic to creating something delicious from its foundational ingredients, and when it comes to confectionery, learning how to make white chocolate at home is a truly rewarding experience. Far from being a mere imitation, homemade white chocolate offers a level of freshness, flavor control, and pure indulgence that store-bought versions often can't match. If you've ever dreamt of crafting your own creamy, dreamy white chocolate bars, truffles, or baking inclusions, this comprehensive guide will walk you through every step, from selecting premium ingredients to the final, silky-smooth result.
The Curious History and Unique Nature of White Chocolate
While dark and milk chocolate boast ancient origins, white chocolate is a relative newcomer to the confectionery world. Its story, while not entirely clear, beautifully illustrates the adage that "necessity is the mother of invention." Following the widespread devastation of the First World War, European nations, particularly Switzerland, found themselves with vast surpluses of milk powder. Faced with this potential waste, the innovative minds at Nestlé devised a brilliant solution around 1936: combining the leftover milk powder with sugar and cocoa butter. This ingenious blend resulted in the commercial birth of white chocolate, though small-scale productions might have existed towards the end of the previous century.
To some chocolate purists, white chocolate has always maintained a slightly "uneasy relationship" with its darker cousins. The primary reason for this debate stems from its composition: white chocolate does not contain cocoa solids (also known as chocolate liquor). This absence leads some to argue it shouldn't be classified as "chocolate" at all. However, legally and culinarily, white chocolate stands proudly on its own, defined by its key ingredients: cocoa butter, milk solids (often in powder form), sugar, and frequently, vanilla.
The mild, creamy flavor profile of white chocolate is precisely what makes it so incredibly versatile. Unlike the assertive bitterness of dark chocolate or the robust notes of milk chocolate, white chocolate acts as an ideal canvas. Its delicate taste provides the perfect backdrop for augmenting a wide array of other flavors. Think toasted nuts, vibrant dried fruits, zesty citrus, warm spices like turmeric, or even unexpected herbaceous notes such as rosemary or dill. This adaptability makes understanding how to make white chocolate an invaluable skill for any aspiring home chocolatier or baker.
Essential Ingredients for Crafting Your Perfect White Chocolate
Creating professional-grade white chocolate at home starts with selecting high-quality ingredients. Each component plays a vital role in achieving that coveted smooth texture and exquisite flavor. Here’s what you’ll need:
- Cocoa Butter: This is the foundational ingredient, providing the characteristic melt, texture, and delicate flavor. Opt for pure, food-grade cocoa butter. You can choose between deodorized (neutral flavor) or undeodorized (subtle chocolatey aroma). For the best results when learning how to make white chocolate, a high-quality, pure cocoa butter is non-negotiable.
- Powdered Sugar (Confectioners' Sugar): While granulated sugar can be used, powdered sugar is highly recommended. Its finely ground crystals will significantly reduce the processing time needed to achieve a smooth texture, saving your equipment and your patience. If you only have granulated sugar, be prepared for a longer grinding process, taking extra care not to overtax your food processor's motor.
- Full-Fat Milk Powder: This provides the essential milk solids that contribute to white chocolate's creamy mouthfeel and distinctive dairy notes. Full-fat varieties will yield a richer, more indulgent product.
- Vanilla Extract or Vanilla Bean Paste: A touch of vanilla elevates the overall flavor, adding a classic, aromatic sweetness. For an even more luxurious taste, consider using scraped vanilla bean seeds.
- A Pinch of Salt (Optional): A tiny amount can help balance the sweetness and enhance the other flavors.
- Emulsifier (Soy Lecithin or Sunflower Lecithin - Optional): A very small amount (e.g., ¼ teaspoon per batch) can improve the texture, prevent blooming, and make your white chocolate more stable, though it's not strictly necessary for a home batch.
Making Vegan-Friendly White Chocolate
For those looking to create a plant-based version, the process of how to make white chocolate is remarkably similar. The key substitution is the milk powder. Instead of dairy milk powder, you can use:
- Oat Milk Powder: Offers a creamy texture and a subtle, slightly sweet flavor.
- Soy Milk Powder: A common and readily available option that provides richness.
- Rice Milk Powder: A good choice for those with soy allergies, offering a neutral flavor.
- Coconut Milk Powder: Imparts a distinct coconut flavor, which can be delightful if that's the profile you're aiming for.
Ensure your chosen plant-based milk powder is full-fat for the best creamy consistency.
Step-by-Step Guide: How to Make White Chocolate at Home
Now that you have your ingredients, let's dive into the practical steps for creating your very own white chocolate.
Essential Kitchen Equipment:
- Digital Kitchen Scales: Precision is paramount in chocolate making.
- Spatulas: For stirring and scraping.
- Food Processor or Liquidiser: A good quality home food processor or liquidiser will work well for small batches. Be mindful of its motor when grinding. For larger batches or serious hobbyists, a wet grinding machine (melanger) is an excellent investment for achieving ultimate smoothness.
- Double Boiler or Saucepan with a Heatproof Glass Bowl: For gently melting the cocoa butter without scorching.
- Chocolate Molds (Optional): For shaping your finished white chocolate into bars or decorative pieces.
The Process:
- Weigh and Prepare Your Ingredients: Accurately weigh out your cocoa butter, powdered sugar, and milk powder. If using granulated sugar, you'll need to grind it first.
- Grind Your Sugar (If Necessary): If you're using granulated sugar, place it in your food processor. Use short, powerful pulses combined with a few longer bursts to grind it into a fine powder. Remember how hard sugar crystals are; don't leave the processor running continuously, as the lack of liquid resistance can quickly overheat and damage the motor. Pulse until it resembles confectioners' sugar.
- Gently Melt the Cocoa Butter: Set up your double boiler. Place about two-thirds of your weighed cocoa butter in the heatproof bowl over simmering water (ensure the bowl doesn't touch the water). Melt the cocoa butter slowly and gently, stirring occasionally until fully liquid.
- Combine and Grind (Initial Phase): Once the cocoa butter is melted, carefully pour it into your food processor (or liquidiser) along with your powdered sugar (or pre-ground granulated sugar). Process this mixture thoroughly. The goal here is to reduce the sugar crystals to an incredibly fine particle size. Continue processing, scraping down the sides as needed, until the mixture feels smooth between your fingers, without any grittiness. This may take 5-10 minutes, depending on your machine.
- Incorporate Milk Powder and Remaining Cocoa Butter: Once the sugar and cocoa butter mixture has reached sufficient smoothness, add your full-fat milk powder and the remaining one-third of solid cocoa butter (this helps cool the mixture slightly and aids in a smoother integration). Continue processing. The powerful blades will further reduce the tiny particles of sugar, milk fat globules, and cocoa butter into a silky-smooth suspension. This stage is crucial for achieving that characteristic melt-in-your-mouth texture. Keep grinding until the mixture is utterly homogenous and smooth, often referred to as "refining."
- Flavoring: Once completely amalgamated and smooth, transfer the white chocolate mixture back to your double boiler (or simply work in the warmed food processor bowl). Stir in your vanilla extract or paste, and any optional flavorings like fruit powders, citrus zest, essential oils, or spices.
- Tempering (Optional but Recommended): For a professional finish – shine, snap, and resistance to melting at room temperature – tempering is key. While a full tempering guide is beyond the scope of this initial "how to make white chocolate" article, it involves carefully controlling the temperature of the chocolate to stabilize the cocoa butter crystals. For a basic home batch, simply pouring into molds and chilling will suffice, though the texture might be softer. For detailed instructions on tempering, consider exploring how to make white chocolate - Article 2.
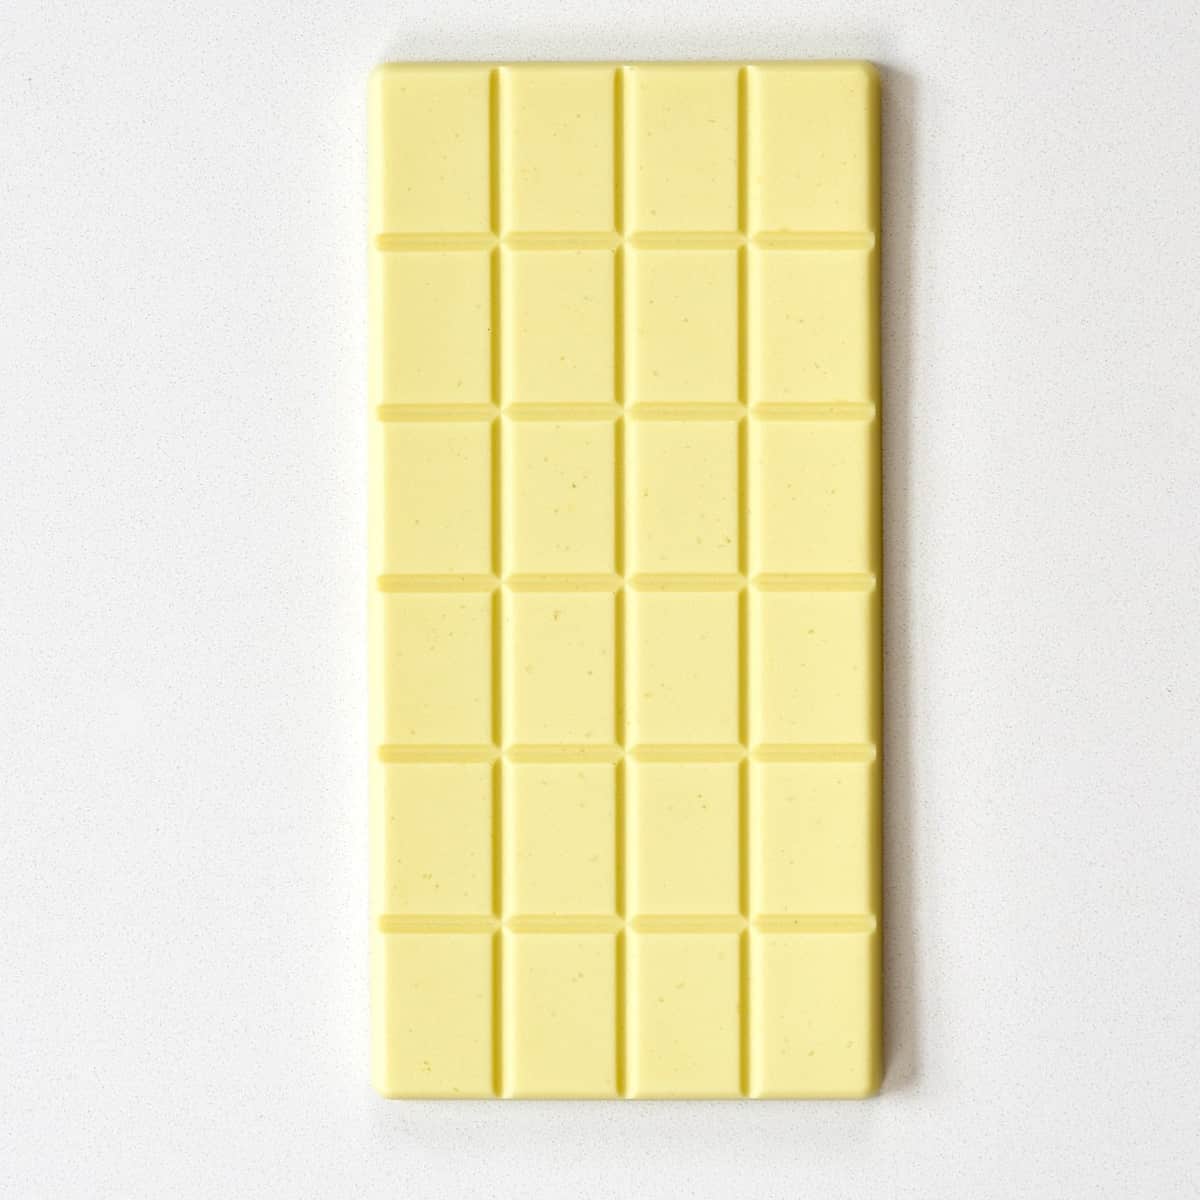
- Molding and Setting: Pour your flavored (and ideally, tempered) white chocolate into your chosen molds. Tap the molds gently on the counter to release any air bubbles. Refrigerate for 20-30 minutes, or until fully set. Once firm, carefully unmold your homemade white chocolate.
Tips for Achieving Perfection:
- Quality Matters: Always use the best quality cocoa butter you can find. It's the soul of your white chocolate.
- Patience is a Virtue: The grinding and refining stage can take time, especially with a home food processor. Don't rush it; the smoother you get it, the better the final texture.
- Monitor Temperature: Avoid overheating your cocoa butter, as this can scorch it or alter its properties. Gentle, indirect heat is always best.
- Experiment with Flavors: Don't be afraid to customize your white chocolate! Almond extract, rosewater, espresso powder, or even finely ground pistachios can add delightful twists.
Storing and Using Your Homemade White Chocolate
Once you've mastered how to make white chocolate, proper storage ensures its longevity and quality. Store your homemade white chocolate in an airtight container in a cool, dark place, ideally between 60-70°F (15-21°C). Avoid direct sunlight or extreme temperature fluctuations. When stored correctly, it can last for several weeks to a few months, retaining its delicious flavor and texture.
The versatility of homemade white chocolate is immense. Use it as a base for luxurious truffles, drizzle it over cheesecakes, fold it into mousses, or simply enjoy it as beautiful, bespoke chocolate bars. It's also fantastic for creating decorative elements, melting into rich hot cocoa bombs, or incorporating into cookies and other baked goods. Its mild flavor ensures it complements rather than overwhelms other ingredients.
For more advanced techniques like tempering or detailed recipes using your homemade white chocolate, be sure to check out how to make white chocolate - Article 2 and how to make white chocolate - Article 3.
Conclusion
Embarking on the journey of how to make white chocolate from scratch is a rewarding endeavor that connects you more intimately with the treats you enjoy. From its unique history born of post-war ingenuity to the careful selection of ingredients and the precise steps of refinement, each stage contributes to a truly exceptional product. The creamy texture, customizable flavors, and sheer satisfaction of creating your own indulgent confection make the effort well worth it. So, gather your ingredients, fire up your food processor, and prepare to delight your senses with the magic of homemade white chocolate!
